H-501
Pencil Hardness Gauge
The Micro-Metrics Pencil Hardness Gauge is practical for use in the laboratory, on the production line, or in the field to assess quantitatively the rigidity or firmness (elastic modulus) of organic coatings applied to rigid substrates such as metal. Hardness values may define requirements for particular coatings applications or may be used to evaluate state-of-cure or aging of coating.
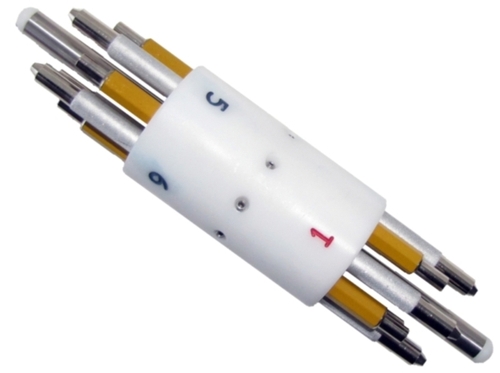
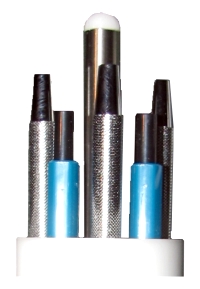
The Micro-Metrics Pencil Hardness Gauge is unique in that it provides a compact single unit for performing this test, rather than a set of easily lost individual pencils. The importance of this advantage is especially apparent when several individuals are working with a single instrument. The H-501 now has metal-barrel lead holders.
Principle
When two materials of different degrees of hardness of rigidity are forced against each other, one of the materials either yields or crumbles, while the other is unaffected. Thus a scale of relative hardness can be established on the basis of the ability of one material to scratch or deform another. This principle has long been used in the mineralogy field where it is known as the Mohs Hardness Scale (F. Mohs, 1820). Thus, the hardest material, diamond, is arbitrarily given a hardness value of 10, and other materials range downward through, for example, Corundum–9, Quartz–7, Apatite–5, Calcite–3, and Talc–1.
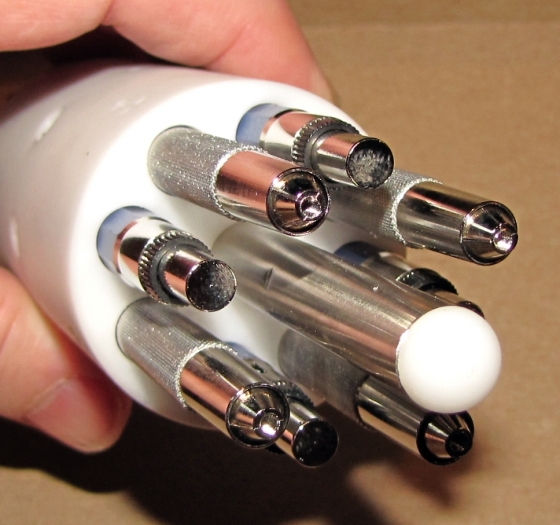
Mechanical drawing pencil leads of available grades cover a range of useful organic coatings. The crumbling mode of failure is also an essential characteristic of the drawing leads, which is necessary for this application.
The Micro-Metrics Pencil Hardness Gauge design allows the user to force pencil leads of increasing hardness values against a coated surface in a precisely defined manner until one lead mars the surface. Surface hardness is defined by the hardest pencil grade that fails to mar the painted or coated surface.
Leadset
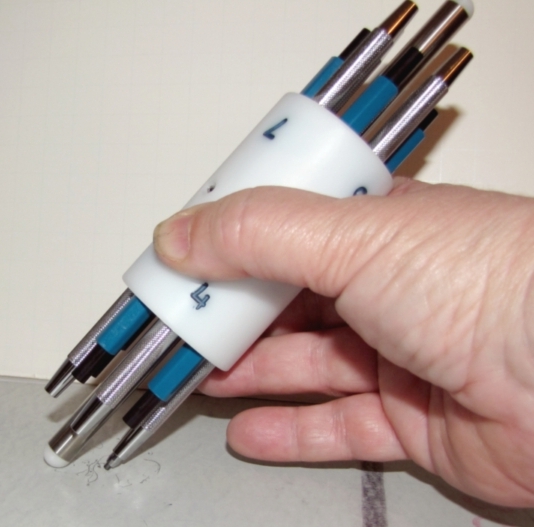
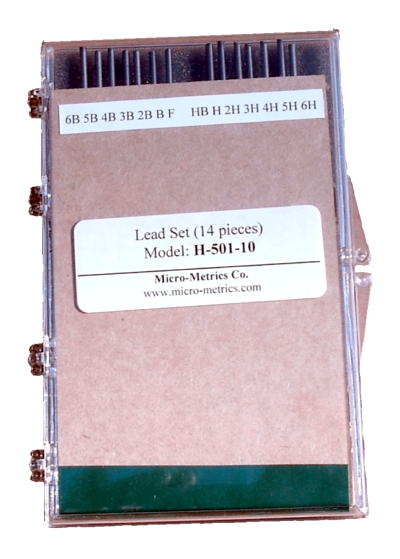
The leadset supplied with the Micro-Metrics Pencil Hardness Gauge contains the following leads, listed from softest to hardest:
6B, 5B, 4B, 3B, 2B, B, HB, F, H, 2H, 3H, 4H, 5H, 6H
Choosing and installing the eight leads most commonly used will allow the leads most appropriate to the surface(s) being tested to be always at the ready. The leads are supplied in a carrying case that identifies each lead. (Please note that individual leads often come without identification or the identification mark may be difficult or impossible to read. It is recommended to write down which lead is put into which numbered leader holder, as the leads are usually unidentifiable by themselves.)
Dressing disk and replacement sandpaper kit
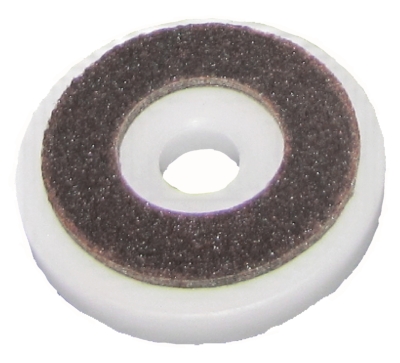
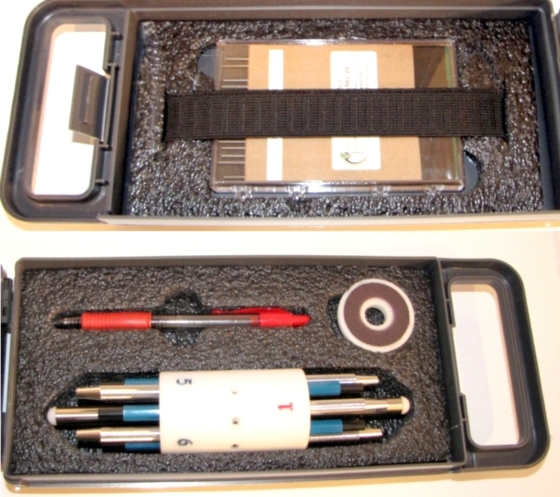
An adhesive disk of high-quality sandpaper is mounted on a plastic dressing disk to allow dressing all four lead points while the leads are extended in working position in the gage.
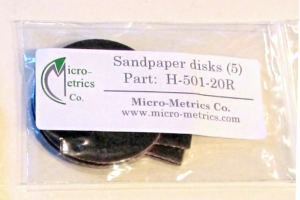
A replacement sandpaper kit, part number H-501-20R, is available. This is a set of five replacement sandpaper adhesive disks. The disks attach to the plastic dressing disk that comes with the H-501 Pencil Hardness Gauge.
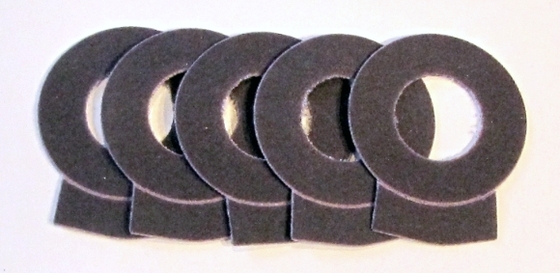
Please note: kit H-501-20R does not include the plastic dressing disk, only the replacement sandpaper disks. The complete dressing disk kit is part number H-501-20, and includes both the plastic disk and five sandpaper disks.
Specifications
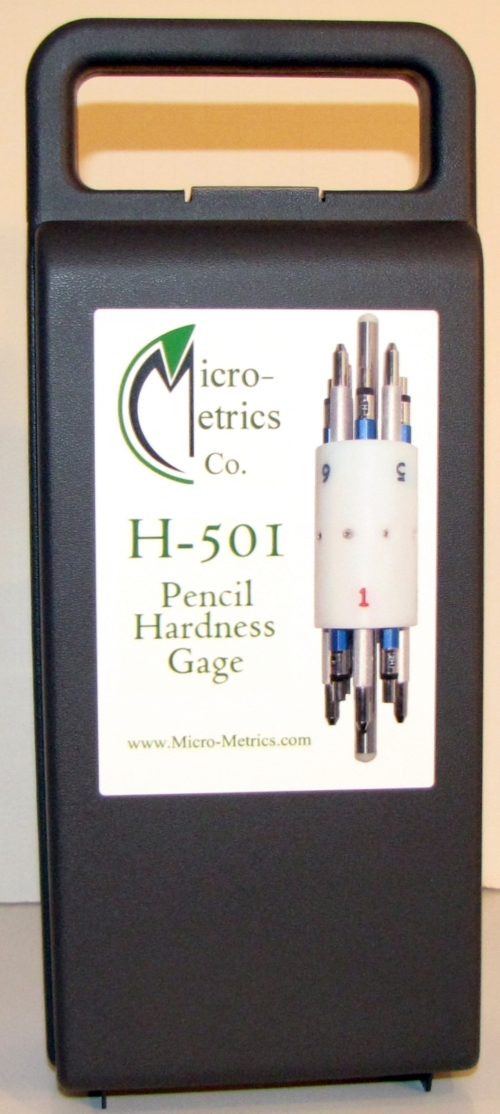
The H-501 Pencil Hardness Gauge comes in a polypropylene carrying case complete with the testing device, fourteen leads in a carrying case, a dressing disk with four replacement adhesive sandpaper disks .
The Technical Data Sheet for the H-501 Pencil Hardness Gauge is now available on this site, in a form that can be printed on 8-1/2" by 11" paper.
![]()
Website design and management provided by SnowTao Editing Services.
