Since Michael’s death, Micro-Metrics has been unable to produce the metal bodied OG202 Tooke Paint Inspection Gauge. The main reason was a very frustrating inability to get the machined bodies from the machinist who had made them for a couple of decades. After much stress and trying to get them from him, I found a local machinist who has an astonishing work ethic – and a CNC machine! I had an old drawing (like a blueprint) of the metal body, and a single prepared body that Michael had left behind.
My new machinist and I have been working for several months to decipher, refine, and update the drawing (in his computer) to allow the CNC machine to cut, drill, and mill the bodies. (It takes some 30 steps to make an OG202 body out of a slug of metal — and that’s just preparing the raw body!)
Here’s what the new OG202 looks like: 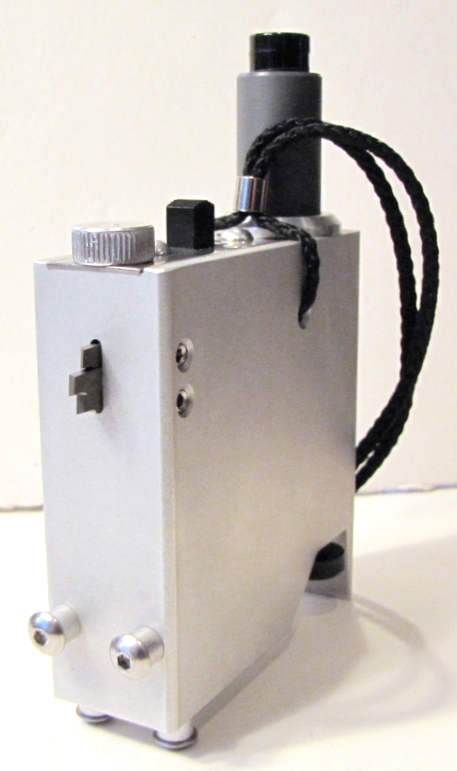
Notice the nice chamfered edge to the body.
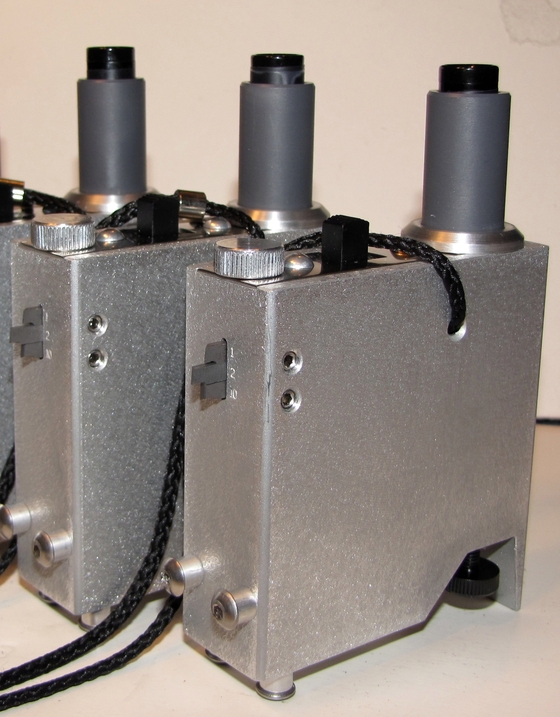
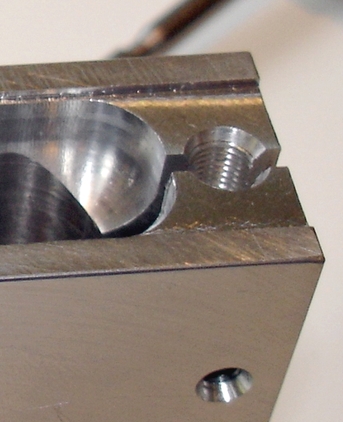
The major change is the lack of a cut-through of the body into the battery compartment.
Old-style gauge:
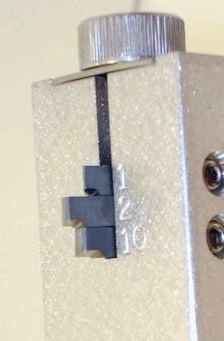
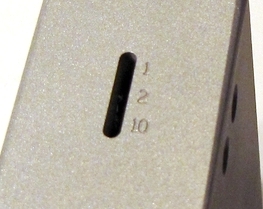
New-style gauge (If you look closely, you can see the tip slot numbering):
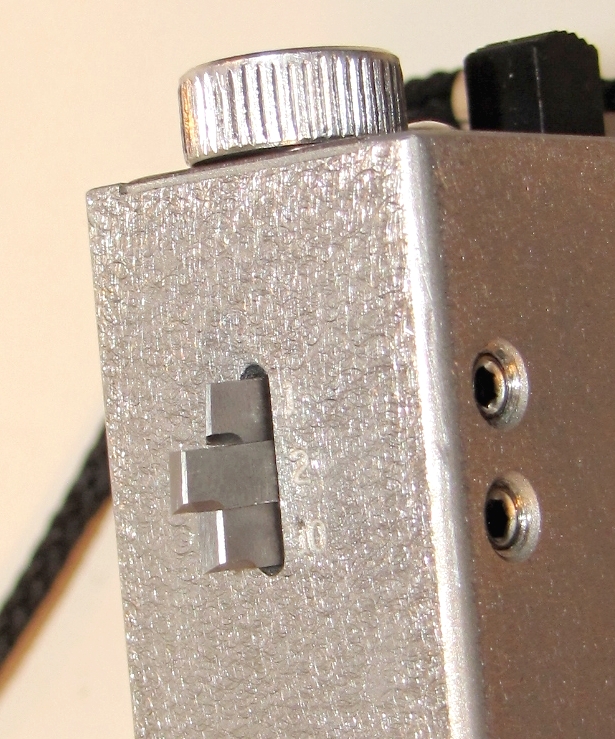
Closer view of the tip slot numbering:
I hope, by the end of March, to be shipping the new gauges. I already have 13 OG202s on order, and am having my new machinist make 36 bodies to start. (I was able to send out five prototypes of the new version, which have met with a very positive response.)
